Having a smooth driveway in front of your home is always a nice thing to look at in the morning when going to work. The American dream is having the best one in the neighborhood. We do exactly that – MAKING DREAMS COME TRUE.
Finishes we offer:
Natural
Antiqued
Sawn
Polished
Honed
Flamed
Brushed
Sandblasted
Applications:
Driveways
Patios
Outdoor Kitchens
Swimming Pool Areas
Pathways
Wall Cladding
Building Raised Garden Beds
HOW WE DO IT
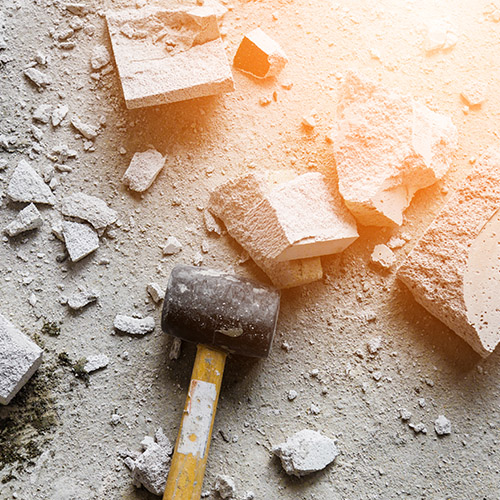
STEP 1: Demolition & removal
Prior to starting every outdoor project, we call DigAlert to assure that we do not disturb any underground pipes. We demolish the existing work area and haul away all debris. We remove 6-7 inches of the existing area to prep for the base install to reveal roots that can damage the pavers in the future. If roots are found they will be removed and treated.
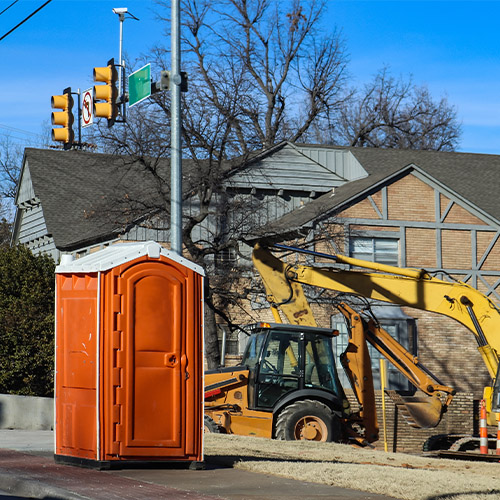
Step 2: Preparation
For larger and longer projects, we will place a porta-potty in the front yard for your convenience and your privacy.
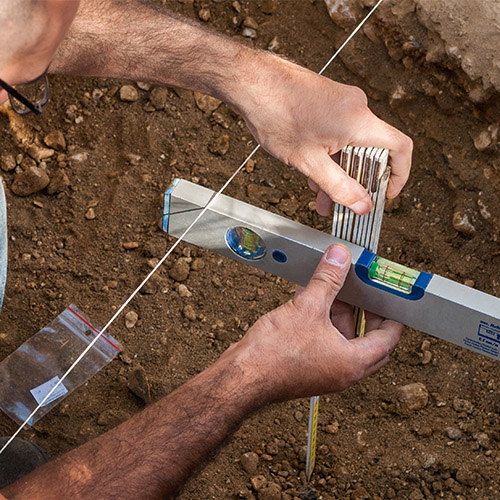
STEP 3: Grading and leveling determination
Our team will determine the right slope and elevations to ensure that the water will flow in the right direction and away from your home.
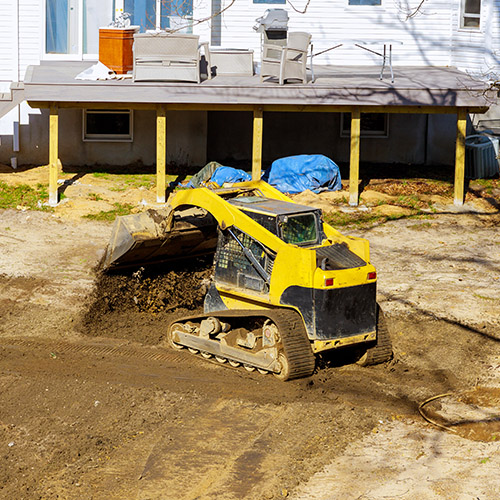
Step 4: Grading and leveling
Next, we create the right slope and elevations to ensure water flow away from your home and to the proper drains. We will call DigAlert prior to grading to prevent damage to existing water, sewer, or utility lines.
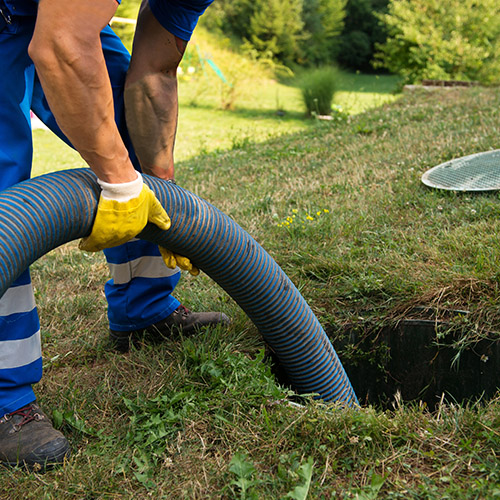
STEP 5: Drains
Our team will cap all unnecessary irrigation lines from the valve, then remove all caped lines. We plan properly for the right drains and water flow. We’ll put trench for the drains from highest to lowest point.
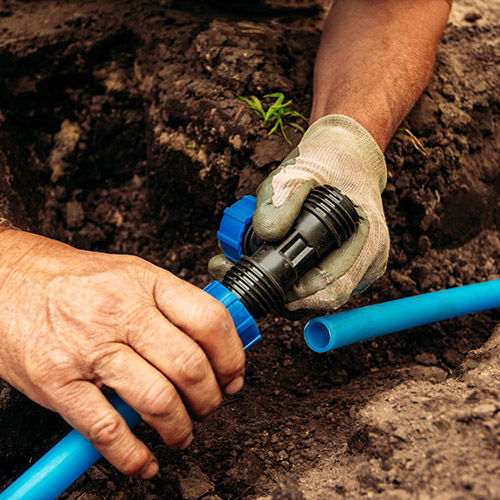
Step 6: Irrigation
Then, we install NDS hardcore PVC exterior grade drain pipes and reroute or install new irrigation pipes and test all valves for best water performance. We will also run empty PVC lines for any future lights or electrical lines.
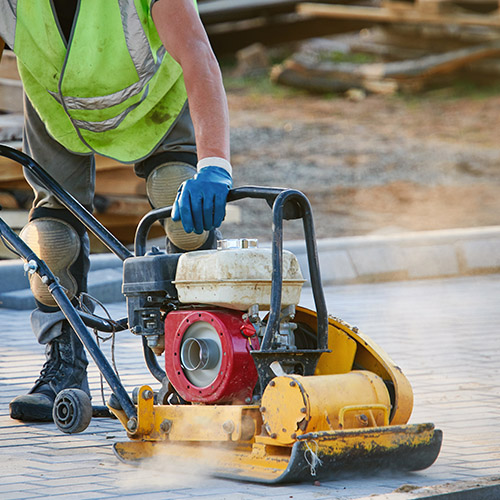
STEP 7: Compacting
Now, we stamp the ground with a heavy-duty plate compactor to create a well-compacted surface for minimal future movement and a well-prepared surface for the following steps.
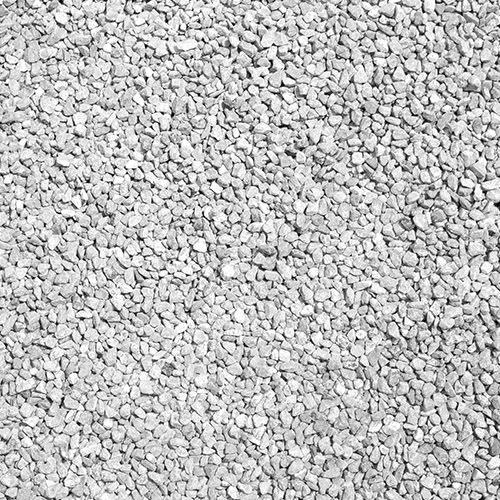
Step 8: Install class 2 virgin road base
Installing the right base and the right amount is critical for drainage and curb appeal. We will install 3” of class 2 virgin road base. while most of the industry will install ½” – 1” and use class 2 recycled base. Not using the right base will create future stains on pavers and surfaces.
STEP 9: Compacting
Tamp ground with a heavy-duty plate compactor to create a well-compacted surface for minimal future movement and a well-prepared surface for pavers installation.
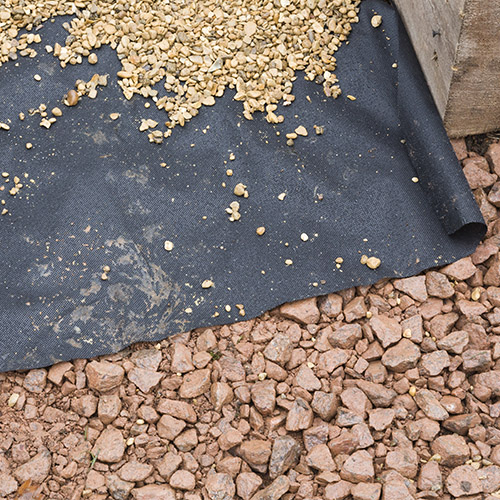
Step 10: Apply weed barrier (Optional)
If you wish, we can apply a weed barrier to prevent weeds from growing between the pavers.
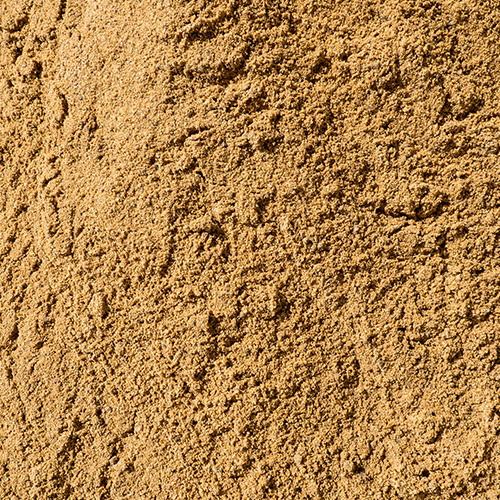
STEP 11: Sandbed preparation
Our team will place bedding of coarse-washed sand conforming to the grading requirements of ASTM C-33 to a maximum uniform depth of 1” -1.5” (25-38mm) screened to the grade and profile required.
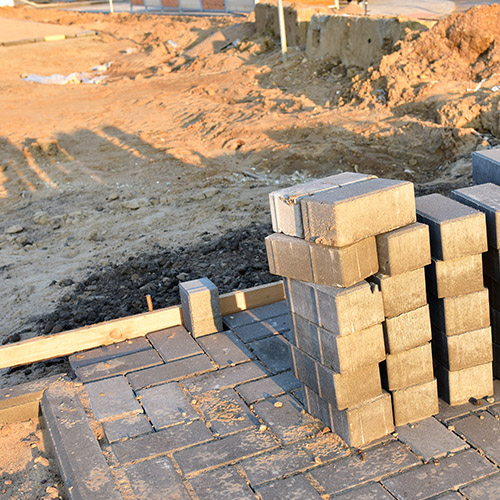
Step 12: Pavers border
All border pavers will be set in concrete to ensure a strong solid frame that will hold the pavers in place and decrease movement.
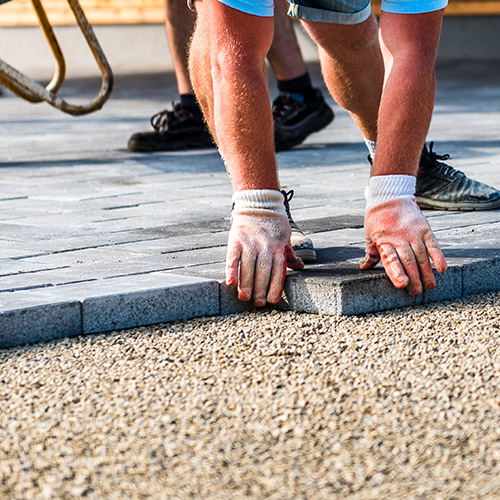
STEP 13: Pavers installation
Like everybody can lay tiles on the wall, anyone can install pavers. The question is how clean and precise it will be and what quality the finished product will look like. Our paver installers are trade specialists and have many years of experience. They will take the time to make the right cuts and follow the right guidelines for each pavers type. We only use manufacturer-approved tools and saws. All border pavers will be set in concrete.
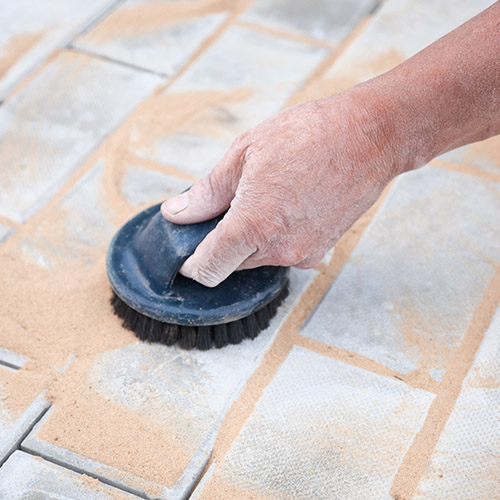
Step 14: Apply polymeric joint sand
Distributing polymeric sand and not regular grout sand will make a huge difference for a few main reasons:
It prevents weeds from growing through the pavers,
It prevents ants from coming through it,
Flexible when wet and able to move with the pavers, which will result in less grout cracking in the future,
Once fully cured it can be carefully power washed,
Even and clean look for a longer period of time after installation,
Meets the ICP standards.
STEP 15: Compact pavers
Tamp ground with a rubber-bottom plate compactor to prevent cracks and marks.
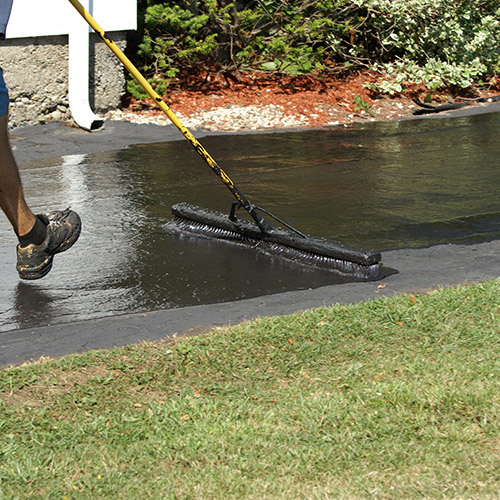
Step 16: Apply sealer
We only use pure acrylic sealer products. The formula used for the making of the product is non-yellow and prevents yellowing after time. It penetrates to the deepest levels and works from there. The sealing process is extremely good and hard.
Clean up
At the end of the process, the job site will remain clean, washed, and free from any debris or dust.
Inspection
At the end of every project, our project manager will perform a final walk-through and inspection of your pavers project to confirm that the work meets our strict quality guidelines.